
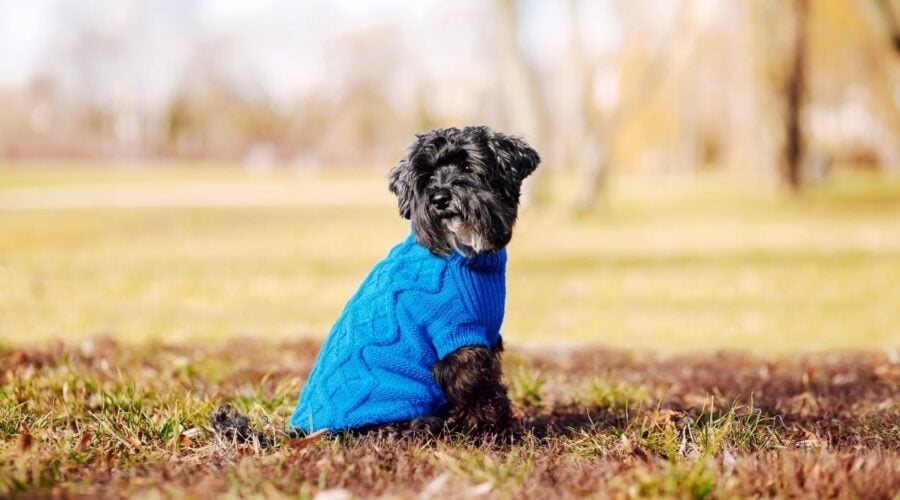
Are you looking to knit your pup a DIY Dog Sweater for the holidays or other cooler weather events? Finding the perfect dog sweater to match your canine’s perfect personality can be a challenge unless, of course, you know how to knit. If you do, creating your own dog sweater is an option and allows you to match your pup’s personality with your chosen colors.
These knitted dog sweater patterns may look complex but the level of complexity ranges. Be sure to match your skill level to that of the pattern before you start.
If you need something for warmer weather, check out our dog shirt patterns.
Measurement & Fit Factors
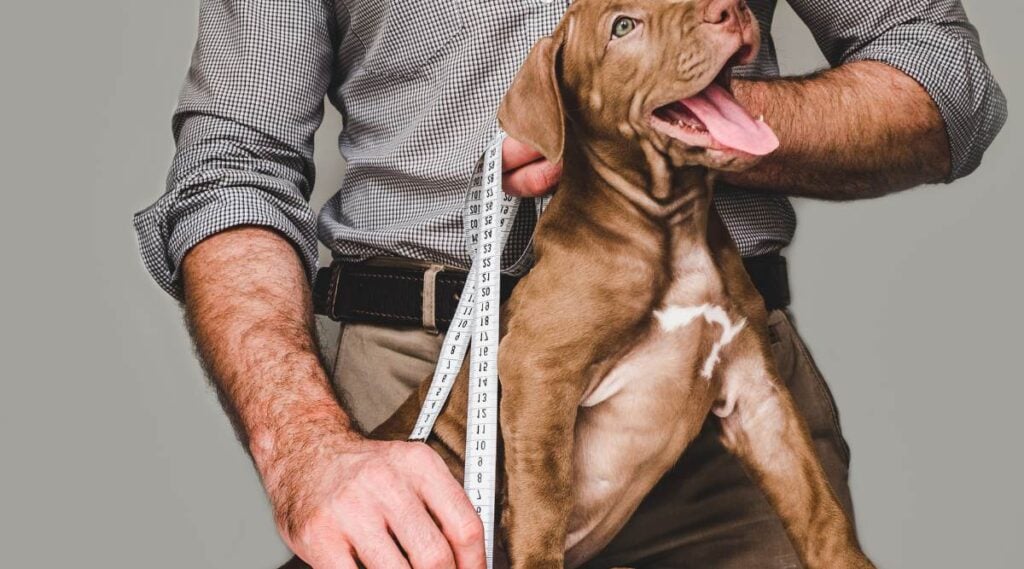
Take accurate measurements of your dog’s neck circumference, chest circumference, length from neck to tail, and leg length.
Length Measurements
There will be four important lengths to obtain for your dog before you can choose a pattern:
- Start with the shoulders to the base of the tail = base length
- From between the shoulders to the end of the rib cage = side length
- From behind the front legs to the end of the rib cage = belly length
- Around the torso from between the middle of the shoulder blades to behind the front legs and back up = torso length
Measure the lengths and write them down.
Consider Ease And Mobility
Dogs need freedom of movement, so ensure that the sweater is not too tight or restrictive. Allow for a little bit of ease in the measurements to ensure a comfortable fit.
Make Adjustments As Needed
If the pattern doesn’t perfectly match your dog’s measurements or if you prefer certain modifications, feel free to make adjustments. Just make sure to take accurate notes of your changes for future reference.
Check In-Process Fit
Try it on your dog periodically to check the fit as you progress through the pattern. This will help you make any necessary adjustments and ensure the sweater is coming along as intended.
How To Knit A Dog Sweater: 6 Patterns
Below are 6 of our favorite DIY dog sweaters you can make at home, in order of easiest to most difficult.
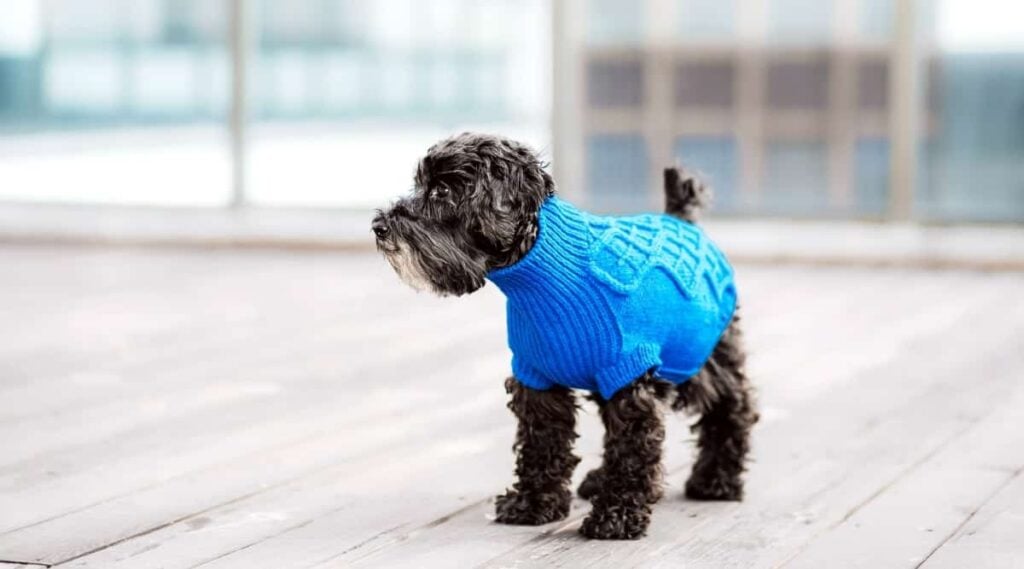
1. Cable Cardigan
- Dog Size: Small-Medium
- Skill Level: Easy
If you’re looking for an entry-level sweater, try this Lion Brand Wool-Ease Thick & Quick Cabled Dog Cardigan designed by Susan Haviland. It’s a single color, stylish and classic.
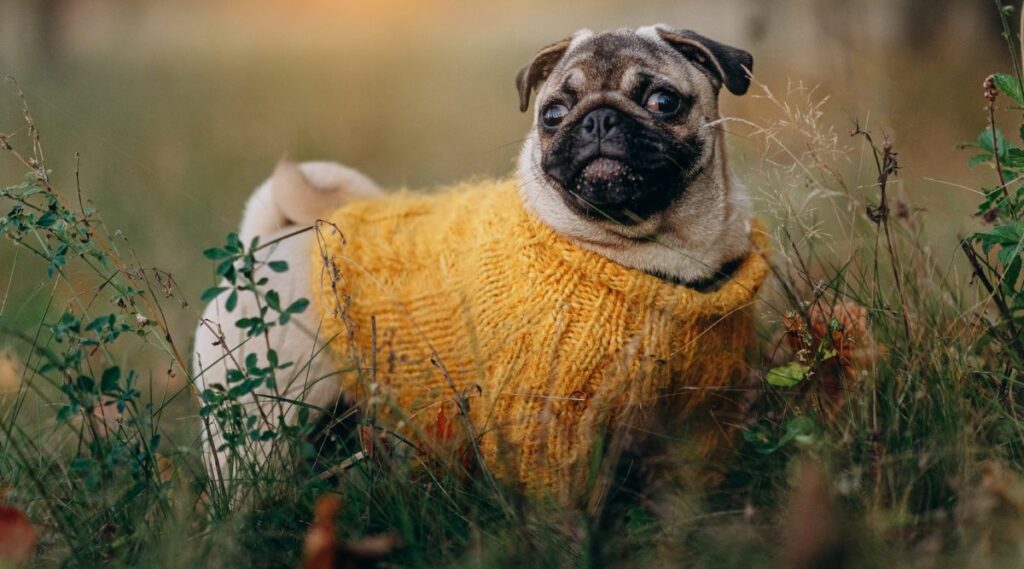
2. Pug Dog Sweater
- Dog Size: Small-Medium
- Skill Level: Easy
For another entry-level sweater, try this one that was designed for a Pug named Frank by Angelcatkins of Elizabeth Watkins Designs. It could be adapted to fit other small dogs as well.
3. Greyhound Turtleneck Sweater
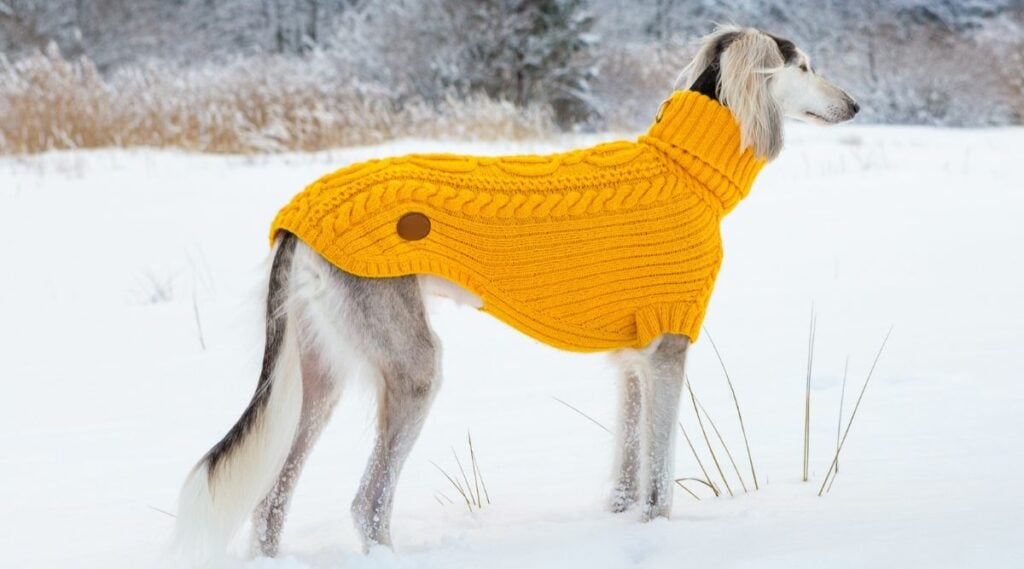
- Dog Size: Medium-Extra Large
- Skill Level: Easy
If you have a Greyhound or a bigger dog with a slender ribcage, then this ribbed, buttoned sweater might be the perfect fit. It has a turtleneck and an adjustable button-up chest to fit dogs of medium to extra-large size. The pattern is from Terri Lee Royea.
4. Striped Dog Sweater
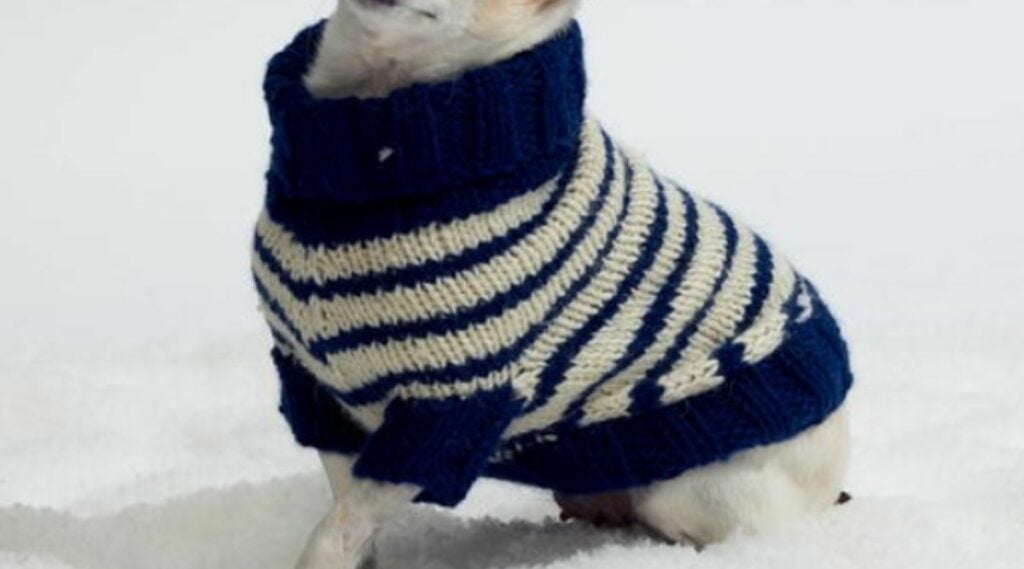
- Dog Size: Small-Medium
- Skill Level: Intermediate
Want to up your knitting game? Then you might be ready to try this more advanced design of a striped sweater with sleeves and border. The original posting of this pattern says it’s an “easy” level, but as amateur knitters, we think this might be a bit more involved than the previous three designs we shared. This pattern comes from Red Heart’s Design Team at Yarn Inspirations. View more free patterns of theirs.
5. Sock Monkey Sweater

- Dog Size: Small-XL
- Skill Level: Intermediate
The name of this design from Yarnspirations is called Bernat Bones & Biscuits, but we loved that it mimics the look of a sock monkey sweater. This definitely qualifies as a more intermediate pattern and fits dogs of all sizes.
6. Nordic Sweater
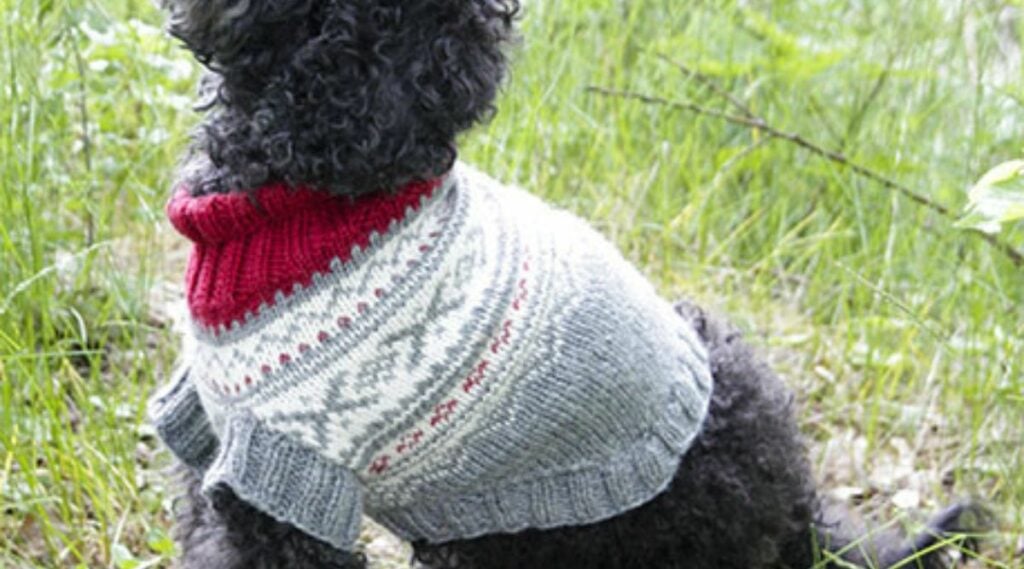
- Dog Size: Extra Small-Medium
- Skill Level: Advanced
Last but not least, we have this Nordic “Narvik Woof” sweater by DROPS designs. It’s a multicolored pattern that is inspired by the traditional sweaters of the Nordic region. Your dog will surely impress all your friends and the dogs at the dog park sporting this adorable sweater!
Tip: How To Figure Out Your Knitting Gauge
Let’s figure out how many stitches you knit per inch. This is also known as your gauge or tension. Gauge is commonly measured by the number of stitches you make in a 4-inch row.
Here’s an excellent guide to help you learn how to test and calculate your knitting gauge.
Post-Knitting

To personalize your garment, consider adding details such as a button or Velcro closure, a folded collar, or a leash hole. These elements can enhance the functionality and style of the sweater. Once the sweater is complete, gently wash it according to the yarn’s instructions. Block it to shape by laying it flat and allowing it to dry completely. This will ensure a professional-looking finish.
Final Thoughts
Congratulations, you’ve chosen a basic knitted dog sweater pattern to make a garment that your dog will be proud to wear. Remember, knitting a dog sweater requires time and patience. Enjoy the process and take tea breaks when needed. Your furry friend will appreciate the effort you put into making them a cozy and stylish garment.

Want free dog sweater pattern
I tried making this sweater but it never turned out. After spending hours knitting, the under belly side pieces didn’t cover the front . So, it either goes in the garbage or drawer. Never will I try anything like this again! And, I’m not a first time knitter, bend doing it for years….sorry but your instructions suck!