Free DIY Dog Clothing Patterns: Shirts, Raincoats & More DIY Free DIY Dog Clothing Patterns: Shirts, Raincoats & More Read More »
6 Free DIY Knitted Dog Sweater Patterns: Cable, Striped, Nordic & More DIY 6 Free DIY Knitted Dog Sweater Patterns: Cable, Striped, Nordic & More Read More »
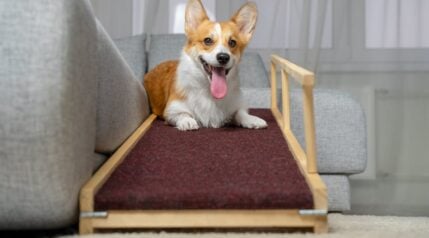
10 Great DIY Projects For Dogs: Making Fido Feel at Home DIY 10 Great DIY Projects For Dogs: Making Fido Feel at Home Read More »
DIY Dog Costume Ideas: 10 Different Costumes Your Pup Can Wear DIY DIY Dog Costume Ideas: 10 Different Costumes Your Pup Can Wear Read More »
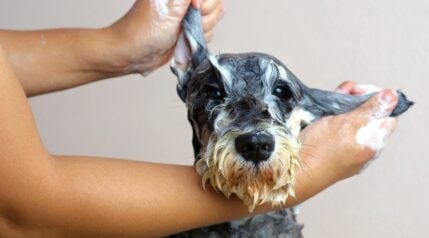
DIY Dog Shampoo Recipes: 5 Great Options For Your Pup DIY DIY Dog Shampoo Recipes: 5 Great Options For Your Pup Read More »
Grain-Free Homemade Dog Treats: 5 Recipes To Try Today DIY Grain-Free Homemade Dog Treats: 5 Recipes To Try Today Read More »